What are C1 groups?
What can I do with a C1 group?
Key uses for these special groups include:- Organizing employees without creating custom IdP groups. C1 groups make it easy to create groups of employees who share key profile attributes or combinations of access.
- Specifying who is granted an access profile. An access profile can be requestable by, or automatically assigned to, a C1 group.
- Assigning a group as reviewer on a policy step. A C1 group can be set as a policy step reviewer.
What kind of groups should I make?
When considering what groups to make, think about how you want to organize your employees for access management, access profile, and policy reviews. Groups provide a flexible way to do so without needing to manage complex groups in your identity provider. Here are some ideas for groups you might create in C1:- Department or team-based groups: For example, “Marketing Team”, “Engineering Department”, “Sales”. This helps organize employees and manage access relevant to those teams.
- Role-based groups: For example, “Software Engineers”, “Data Analysts”, “Project Managers”. This is useful for assigning access based on job function.
- Location-based groups: For example, “Portland Office”, “London Team”. Useful if access varies by location.
- Project-based groups: For temporary teams working on specific projects, like “Spruce Mongoose Team”.
- Reviewer groups: Groups specifically created to be used as reviewers in policies. For example, “Security Reviewers”, “Legal Reviewers”.
Create a new C1 group
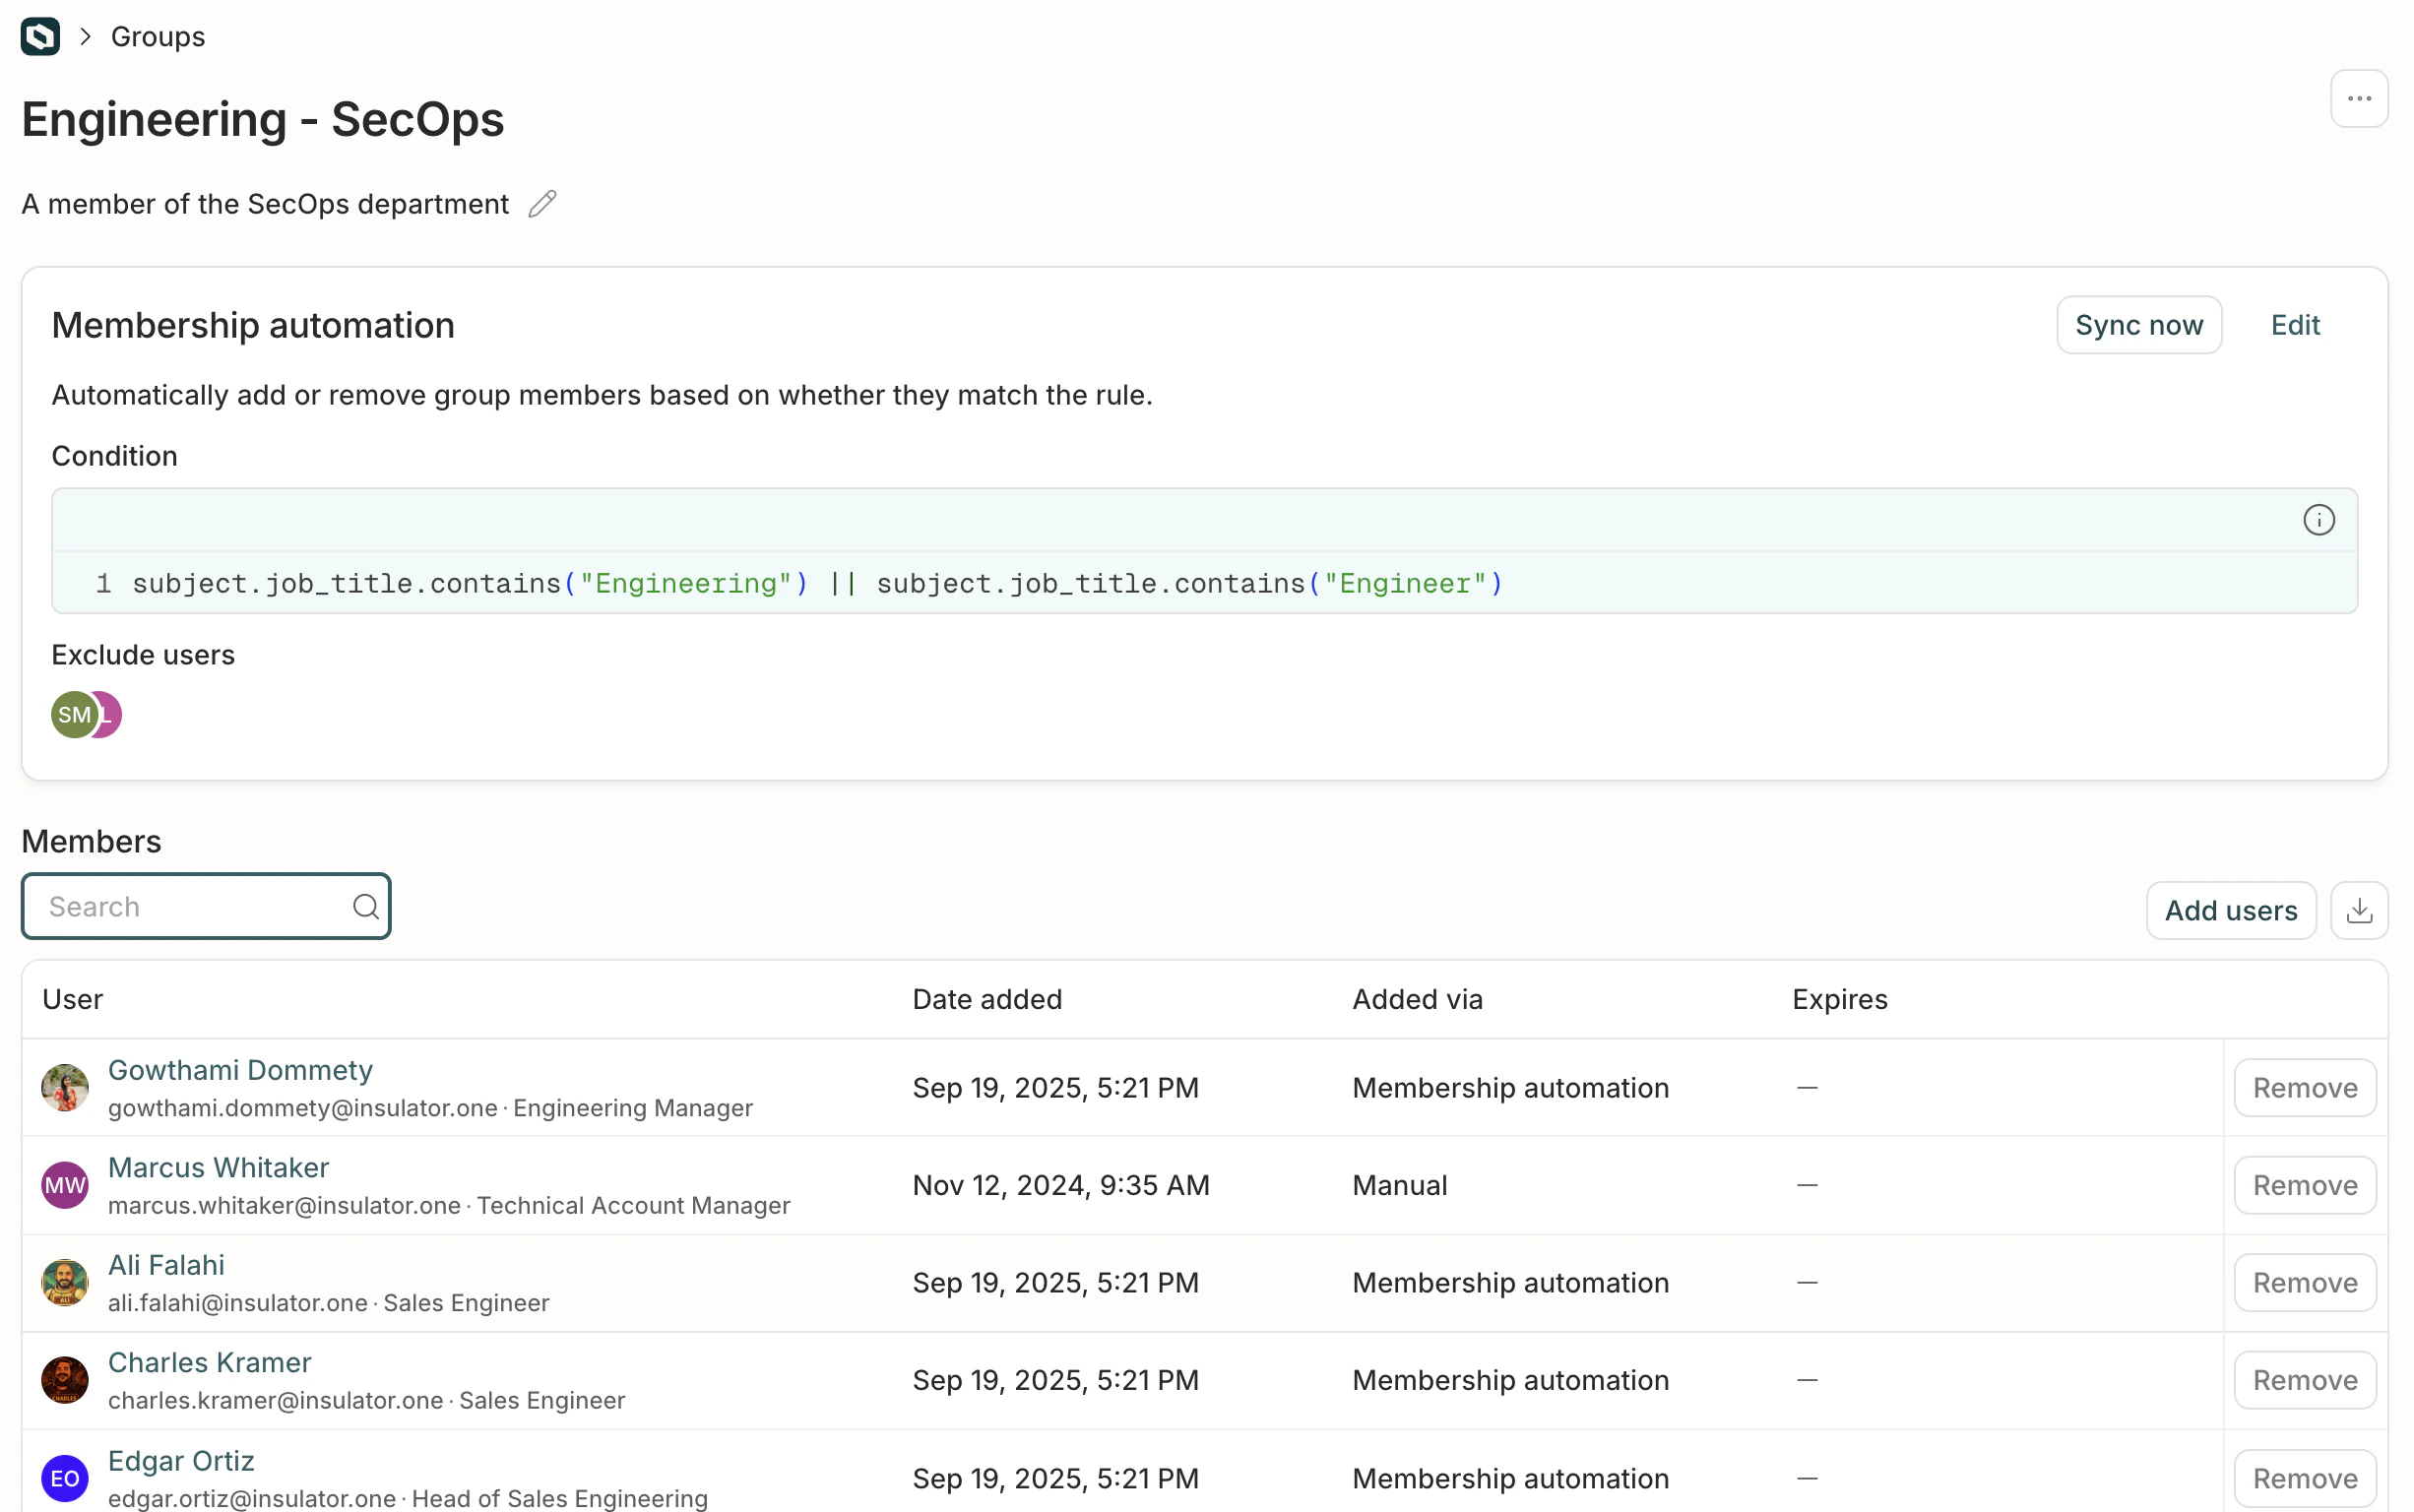
Create a C1 group by setting a rule for membership. C1 will dynamically add or remove members from the group based on their adherence to the rule.Choose how to form your membership rule:
- Use the Basic condition builder to construct a rule from a combination of entitlements and profile attributes (see note below on which profile attributes are supported), with the option to add and and or statements to refine the rule.
- Use the Expression field to to compose a CEL expression that describes the membership rule.
Click Preview to check the syntax of your membership rule.
Note that not all users who match the membership rule will be shown immediately when you click Preview.
Note that not all users who match the membership rule will be shown immediately when you click Preview.
Optional. In the Excluded users field, add the names of any users who should be excluded from this group, even if they match the membership rule.
Duplicate a C1 group
Need a group that’s similar to one that already exists? To save time, you can duplicate an existing group and then make adjustments as needed.
The new group will be pre-filled with the same name, description, and membership rule as the original, which you can then edit.
Manually add users to a group
If you need to manually add users to the access profile who do not match the membership automation condition, click Add users. The users you add will be shown in the list of members, with a notation that they were added manually, rather than by membership automation.Frequently asked questions about C1 groups
How often does the membership rule sync?
How often does the membership rule sync?
A new sync is kicked off each hour.
Can users request access to a C1 group?
Can users request access to a C1 group?
No, currently C1 groups cannot be added to access profiles.