How do enrollment and unenrollment work?
An access profile is a resource in the C1 app. When a user matches the membership condition on the access profile, a request task for the access profile’s enrollment entitlement is automatically created. When this request is approved, the user is enrolled in the access profile and automatically requests all of its access, all without the user, their manager, or the IT team manually creating a single access request. When the user no longer matches the membership condition on the access profile, a revocation task for the enrollment entitlement is automatically created. When this revocation is confirmed, the user is unenrolled from the access profile. You can configure the access profile to determine to what happens to the user’s access in this case (more on this below).Are enrolled users immediately granted the full access profile?
It depends. When a user is assigned the enrollment entitlement for the access profile, a request task is created. Based on the request policy set on the access profile, the request for enrollment might be auto-approved, or it might need one or more human reviewers to sign off. Once the user’s request for access to the enrollment entitlement is granted, C1 will automatically create access request tasks for each item in the access profile. Based on the request policies on each individual entitlement, this access might be automatically approved, or it might require human intervention to approve and provision. If an access profile contains only low-risk access, you can set the policies on the access profile itself and the entitlements within it to automatically approve these requests, essentially granting users who are enrolled in the access profile all of its access immediately.What happens to access when a user is unenrolled?
Here too, it depends. When setting up the access profile, you have the option to determine whether some or all of the access included in the access profile is automatically revoked on unenrollment. When a user is unenrolled from the access profile, a revocation task for the enrollment entitlement is created. Based on the revoke policy set on the access profile, the revocation might be auto-approved, or it might need one or more human reviewers to sign off. Once revocation has been confirmed, C1 will follow the rules set up in the access profile to determine what to do with the user’s access. The options here are:- Do nothing, and leave the access granted by the access profile as-is
- Create revocation tasks for all entitlement granted by the access profile
- Create revocation tasks for any entitlement granted by the access profile that the user does not also have access to via another access profile (these are called “unjustified” entitlements)
Set up access profile auto-enrollment and auto-unenrollment
Before you begin, make sure you’ve followed the instructions in Create access profiles to set up an access profile and add the relevant entitlements.Step 1: Configure access request settings on the access profile
On the access profile’s Requests page, make sure that Allow requests is set to On. Click Edit and enable the toggle if needed.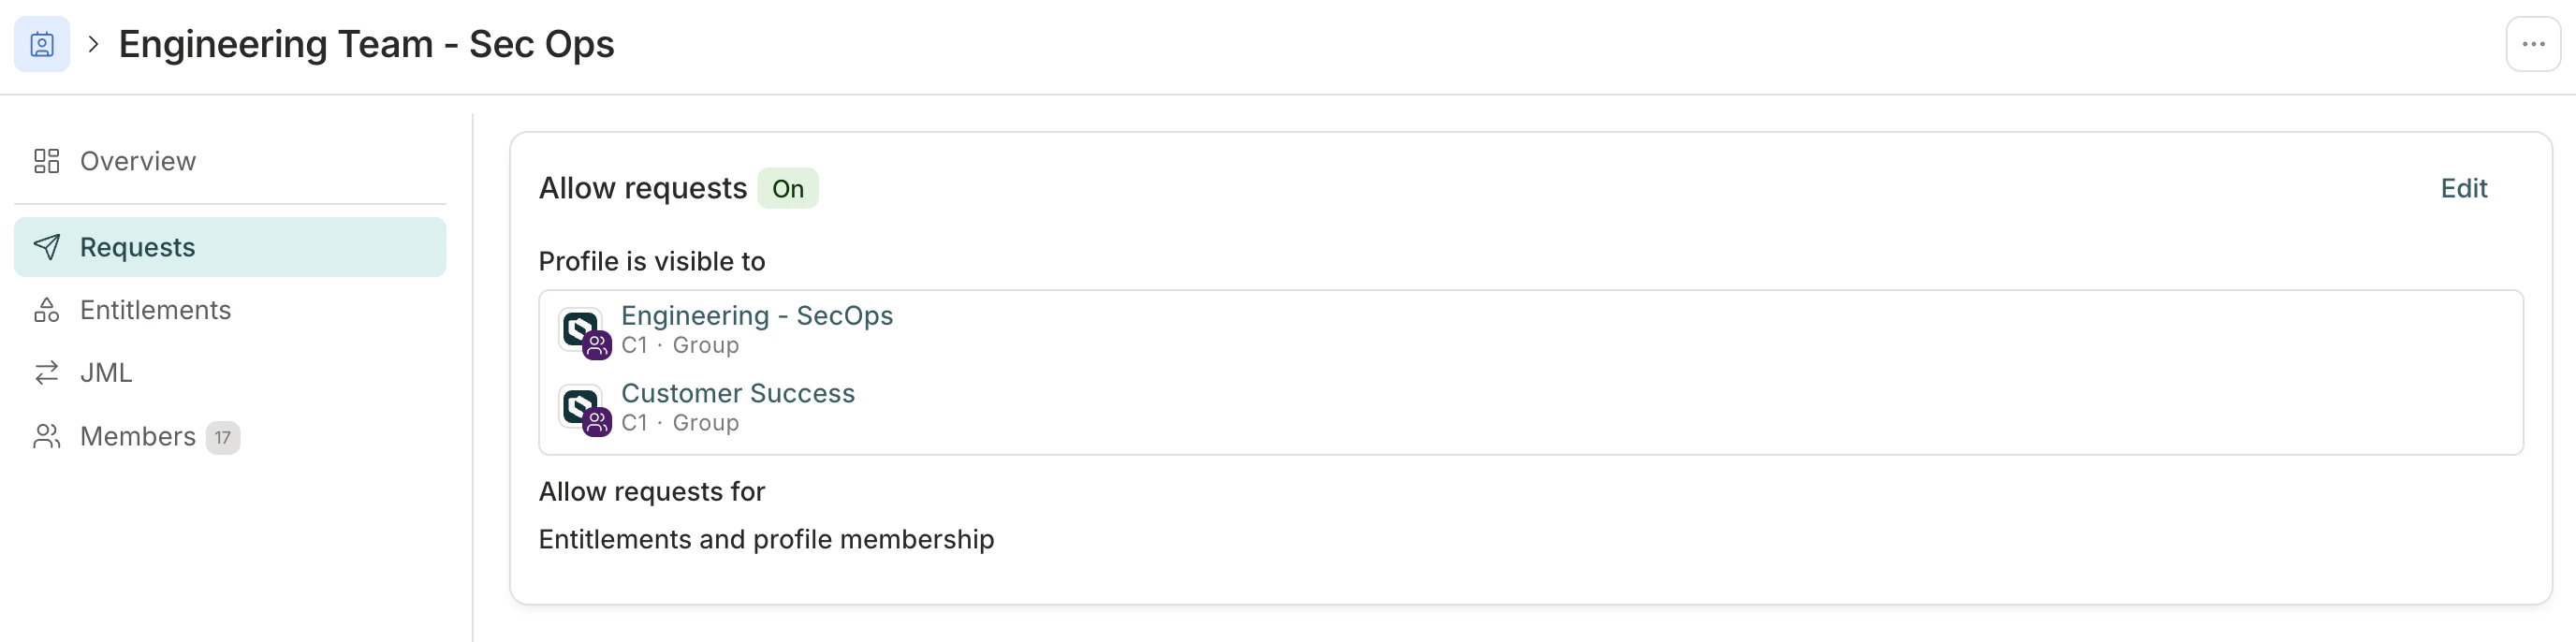
Step 2: Set joiner rules
In the Joiner section of the page, click Edit and set the following:Select the approval policy that will be used for this access profile’s enrollment entitlement.When a user is added to the access profile via membership automation, C1 creates a request task for their access to the access profile’s enrollment entitlement. The user will not be added to the list of enrolled users until this request is approved.If you don’t set an approval policy here, the access profile will use the default policy set on the C1 app.
Once the user’s enrollment in the access profile has been approved, access request tasks are created for each entitlement in the access profile. Select whether these request tasks should apply the approval policy on their respective entitlements, or whether they can bypass the individual entitlements’ policies.In practice, choosing Bypass each entitlement’s approval policy means that approval of the access profile enrollment entitlement is understood as approval of the user gaining access to everything in the access profile, so individual requests for each entitlement are not needed.
Optional. If enrollment in this access profile should not be granted indefinitely, set a Max enrollment duration. This limits how long users can be enrolled in the access profile.
Step 3: Set leaver rules
In the Leaver section of the page, click Edit and set the following:Select the revocation policy that will be used for this access profile’s enrollment entitlement.When a user is removed from the access profile via membership automation, C1 creates a revoke task for their access to the access profile’s enrollment entitlement. The user will not be removed from the list of enrolled users until this revocation is confirmed.If you don’t set a revocation policy here, the access profile will use the default policy set on the C1 app.
Set what to do with the access that has been granted by the access profile when a user is unenrolled. You can:
- Leave the access as-is
- Revoke all entitlements granted by the access profile
- Revoke unjustified entitlements (these are the entitlements what the user was granted only by this access profile; any entitlements that are duplicated in other access profiles the user still has access to will not be revoked)
Once the user’s unenrollment in the access profile has been confirmed, revocation tasks are created for any impacted entitlements in the access profile. Select whether these revoke tasks should apply the revoke policy on their respective entitlements, or whether they can bypass the individual entitlements’ policies.In practice, choosing Bypass each entitlement’s revoke policy means that confirmation of revoking the access profile enrollment entitlement is understood as approval of the user losing access to some or all of the entitlements in the access profile, so individual requests for each entitlement are not needed.
Step 4: Set the membership automation for the access profile
In the Membership automation area of the page, click Edit and set the following:Under the Membership automation heading, set the membership condition by selecting one or more entitlements from the dropdown. Users who are currently granted any of the entitlements you select will be enrolled in the access profile.
If necessary, in the Excluded users box, add any users who should not be enrolled in this access profile, even if they currently have, or are later granted, the entitlements in the rule.
Under the Access changes heading, select how to manage changes to the list of members:
- Leave the Grant and revoke entitlements on membership change toggle disabled if you want to update the list of members but take no other action.
- Enable the Sync members and initiate access changes toggle if you want to update the list of members and kick off enrollment or unenrollment actions.
Choose how the automation will behave when anomalies are detected. By default, C1 will pause any sync that would remove more than 20% of the access profile’s members, to protect against unintended mass changes. If you want to disable this safeguard, you can do so here.
If you’re ready to start using the membership automation, click to turn on Enabled at the top of the page.
Pending enrollments
While request tasks await approval, you’ll see a count of pending members on the Members page. Click pending members to see the pending users and jump to the open tasks.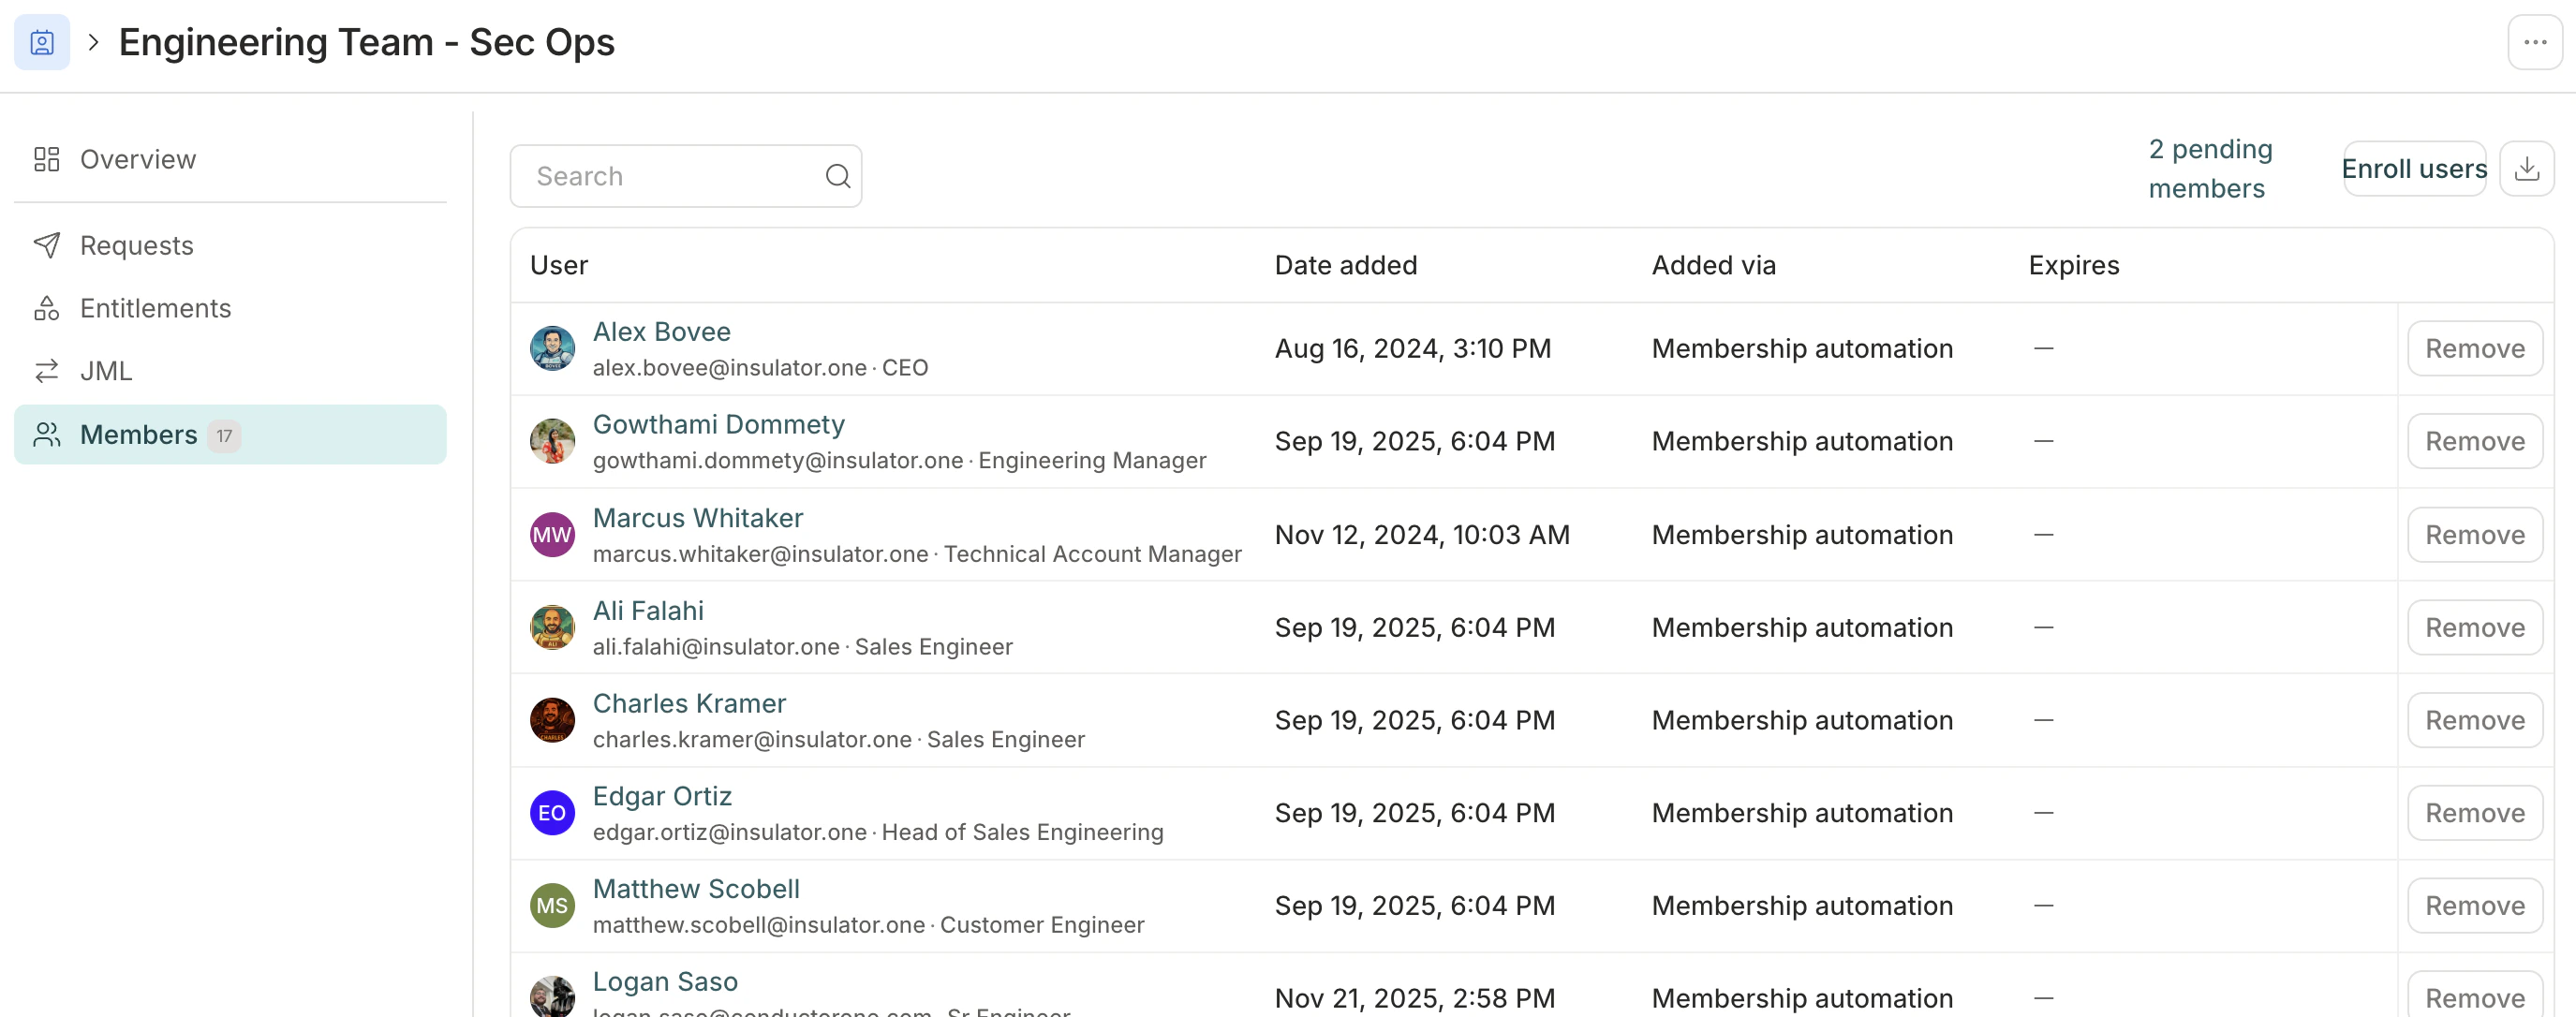
Safeguards for automated access changes
By default, C1 implements safeguards on all access profiles to help protect your organization from unintended changes to user access. The safeguard automatically pauses any any membership automation sync that would remove an unusually high number of users (more than 20%) from a profile. These safeguards are only applied to access profiles with more than 100 members.Turn off automatic safeguards on an access profile
Automatic safeguards are enabled by default on all access profiles, but you can turn them off temporarily or permanently as needed. To disable safeguards on a profile:Review a paused membership automation sync
When a membership automation sync triggers a safeguard and is paused, you’ll see alerts on the main Access profile page and the impacted access profile’s details page alerting you to the fact. If your organization uses Slack, C1 admins will also receive a Slack message about the pause.Frequently asked questions about access profile enrollment
How often does the auto-enrollment rule sync?
How often does the auto-enrollment rule sync?
A new sync is kicked off each hour. Click Sync now on the access profile’s JML page to manually start a sync at any time.
If I add a new entitlement to the profile, will currently enrolled members be notified?
If I add a new entitlement to the profile, will currently enrolled members be notified?
No, when a new entitlement is added to a profile, currently enrolled members do not receive any notifications. Notifications about approval or provisioning tasks for the new access (and any comments on these tasks) will be sent to approvers or provisioners, as needed.
Can I add members to the access profile who don't meet the membership automation condition?
Can I add members to the access profile who don't meet the membership automation condition?
Yes. If you need to manually add users to the access profile, navigate to the access profile’s Members page and click Enroll users.